
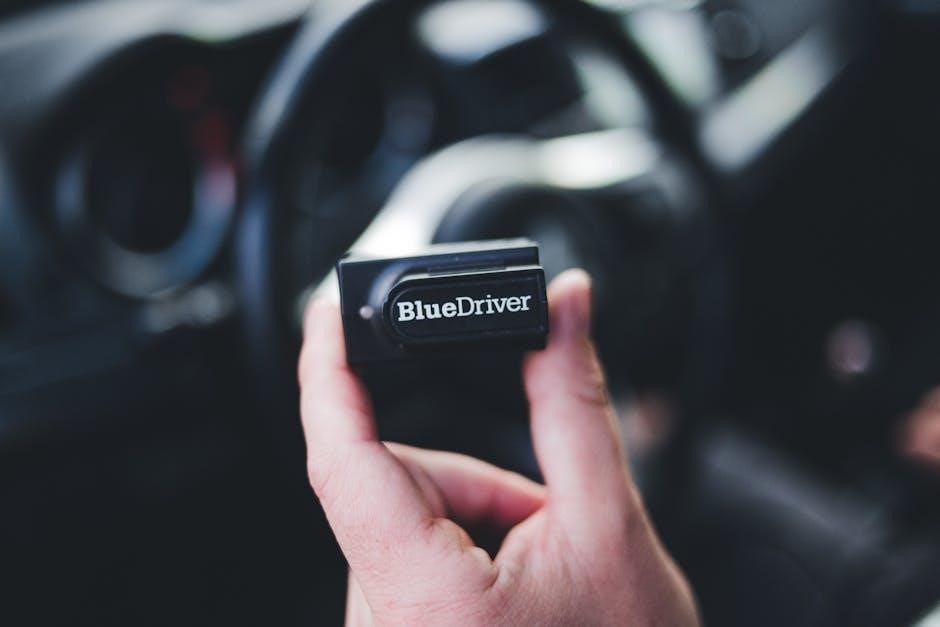
vupoint magic wand portable scanner user manual
The VuPoint Magic Wand is a powerful, portable scanning solution designed for ease of use․ It offers high-resolution scanning, microSD card support, and compatibility with various documents, making it ideal for on-the-go digitization․ This manual guides users in unlocking its full potential and troubleshooting common issues efficiently․
1․1 Key Features of the VuPoint Magic Wand Scanner
The VuPoint Magic Wand Scanner offers high-resolution scanning up to 900 dpi, automatic white balance, and color or monochromatic scanning options․ It supports microSD/microSDHC cards up to 32GB and saves files in JPEG or PDF formats․ The scanner features a built-in LCD panel for menu settings and runs on two AA alkaline batteries, making it portable and user-friendly․
1․2 Importance of the User Manual
The user manual is essential for maximizing the VuPoint Magic Wand Scanner’s functionality․ It provides step-by-step instructions for setup, scanning, and troubleshooting, ensuring users can optimize their experience․ The manual also covers advanced features and maintenance tips, helping users resolve issues and extend the scanner’s lifespan․ It serves as a comprehensive guide to unlocking the scanner’s full potential efficiently;

System Requirements and Compatibility
The VuPoint Magic Wand Scanner is compatible with Windows XP, Vista, 7, 8, and 10․ It supports JPEG and PDF formats, requiring a microSD card and 2 AA batteries for operation, ensuring seamless functionality across various devices․
2․1 Operating System Compatibility
The VuPoint Magic Wand Portable Scanner is compatible with Windows XP, Windows Vista, Windows 7, Windows 8, and Windows 10․ It also works seamlessly with Android and iOS devices via Wi-Fi connectivity, ensuring versatility across multiple platforms․ However, it is not compatible with Mac operating systems, limiting its use for Apple users without additional workarounds or software solutions․
2․2 Supported File Formats and Resolutions
The VuPoint Magic Wand supports various file formats, including JPEG, PDF (A4 and Letter sizes), and TIFF․ It offers multiple resolution settings: 300 DPI (LO), 600 DPI (MI), and 1050 DPI (HI)․ These options ensure high-quality scans for both documents and photos, catering to different user needs and preferences․ This versatility makes it suitable for professional and personal scanning requirements․
Getting Started with the VuPoint Magic Wand
This section guides users through the initial setup and first use of the VuPoint Magic Wand scanner, ensuring a smooth and efficient scanning experience from the start․
3․1 Unboxing and Initial Setup
Carefully unbox the VuPoint Magic Wand scanner, ensuring all components are included․ Insert the microSD card and install batteries․ Charge the device if necessary․ Power it on and follow on-screen instructions to complete the setup․ Familiarize yourself with buttons and settings before scanning․ Proper setup ensures optimal performance and a seamless scanning experience․
3․2 Charging the Battery and First-Time Use
Insert two AA alkaline batteries into the scanner․ Charge it using the USB cable if the battery is low․ Turn it on by pressing and holding the power button for three seconds․ Ensure a microSD card is inserted for storing scans․ Review the LCD panel for menu settings․ Follow on-screen prompts to complete the initial setup and begin scanning․

Scanning Documents with the Magic Wand
The VuPoint Magic Wand allows users to scan documents, photos, and receipts at up to 900 dpi with color or monochrome options, saving as JPEG or PDF․
4․1 Basic Scanning Techniques
To begin scanning, turn on the device by pressing and holding the power button for three seconds․ Place the document on a flat surface and align the scanner at the top edge․ Move the Magic Wand steadily downward at a moderate pace to ensure clear results․ Maintain consistent speed to capture high-quality images or text, avoiding skips or blurs․
4․2 Adjusting Scan Settings and Quality
Adjust scan settings via the LCD panel to optimize quality․ Choose between 300, 600, or 1050 DPI for varying levels of detail․ Select color or monochrome mode based on document type․ Use the menu to set file formats (JPEG or PDF) and ensure consistent scanning speed for clear results․ These adjustments enhance image clarity and accommodate different document types effectively․

Using the MicroSD Card
Managing the microSD card is essential for storing scans․ The scanner supports up to 32GB microSD/microSDHC cards, allowing ample storage for documents and images․
5․1 Inserting and Managing the MicroSD Card
To use the VuPoint Magic Wand, insert a microSD or microSDHC card (up to 32GB) into the scanner․ Ensure the card is properly seated to avoid data loss․ Format the card using the scanner’s menu for optimal performance․ Always eject the card safely before removal to prevent corruption․ This ensures reliable storage and easy access to your scanned files․
5․2 Troubleshooting MicroSD Card Issues
If the scanner does not recognize the microSD card, ensure it is properly inserted and formatted․ Try using a different card to rule out issues․ If errors persist, format the card via the scanner’s menu (note: this will erase data)․ If the card is full, manage files by deleting unnecessary scans or using a larger capacity card․

Battery Management
The VuPoint Magic Wand uses 2x AA alkaline batteries for operation․ Ensure batteries are fresh for optimal performance․ Avoid mixing old and new batteries․ Store spare batteries properly to maintain longevity․ Turn off the scanner when not in use to conserve power․ Use the auto-shutoff feature to extend battery life․
6․1 Charging and Battery Life
The VuPoint Magic Wand operates on 2 AA alkaline batteries, eliminating the need for charging cables․ With efficient power management, it ensures extended scanning sessions․ Battery life lasts for numerous scans, providing reliable performance․ Replace batteries when the low-battery indicator appears to maintain uninterrupted use․ Always use high-quality alkaline batteries for optimal performance and longevity․
6․2 Replacing Batteries
To replace the batteries, turn off the scanner and locate the battery compartment․ Open it by sliding the cover downward․ Remove the old batteries and insert two new AA alkaline batteries, ensuring proper alignment with the polarity indicators․ Close the compartment securely․ Use high-quality alkaline batteries for optimal performance and longevity․ Replace batteries when the low-battery indicator appears․
Connecting the Scanner to Devices
The VuPoint Magic Wand supports both USB and Wi-Fi connections, enabling seamless transfers to computers or mobile devices․ Use the USB cable for direct transfers or connect via Wi-Fi for wireless convenience․ This dual connectivity ensures flexibility and enhances your scanning experience․
7․1 Wi-Fi Connectivity
The VuPoint Magic Wand scanner offers seamless Wi-Fi connectivity, allowing users to transfer scans directly to smart devices or tablets․ Connect via Wi-Fi by accessing the scanner’s network, ensuring your device is on the same network․ This feature enhances convenience, enabling wireless scanning and storage without the need for cables․ Follow the manual’s instructions to set up and troubleshoot Wi-Fi connections․
7․2 USB Connection
The VuPoint Magic Wand scanner supports USB connectivity for direct file transfers to your computer․ Simply connect the scanner using the provided USB cable, ensuring compatibility with Windows XP, Vista, 7, 8, and 10․ Once connected, transfer scans from the microSD card to your computer․ Use the VuPoint Scanner app to manage and organize your files seamlessly for efficient storage and editing․
Transferring Scanned Files
Transferring scanned files from your VuPoint Magic Wand is straightforward via USB, Wi-Fi, or by using the microSD card․ Ensure your device is compatible for seamless transfers․
8․1 Transferring Files to a Computer
To transfer files to a computer, connect the scanner using a USB cable or insert the microSD card into a card reader․ Ensure the scanner is turned off and the computer recognizes the device․ Use the provided software or file explorer to access and transfer your scanned documents, ensuring they are saved in the desired location on your computer․
8․2 Using Wi-Fi to Transfer Files
To transfer files via Wi-Fi, ensure the scanner and your device are connected to the same network․ Turn on the scanner’s Wi-Fi function, select the network, and enter the password․ Open the VuPoint Scanner app on your device, which will automatically detect the scanner․ Select the files you wish to transfer and save them directly to your device for easy access and management․
Troubleshooting Common Issues
This section helps resolve common problems, such as connectivity issues, scanning errors, or battery life concerns․ Follow step-by-step guidance to diagnose and fix issues efficiently․
9․1 Resolving Connectivity Problems
If the scanner fails to connect, ensure the USB cable is securely plugged in or check Wi-Fi network settings․ Restart both the scanner and your device․ Verify that the scanner is on the correct Wi-Fi network and that the latest software is installed․ If issues persist, consult the user manual or contact customer support for assistance․
9․2 Addressing Scanning Errors
If scanning errors occur, ensure the document is flat and properly aligned․ Check that the microSD card is not full and the scanner is not connected to a computer․ Restart the scanner, verify scan settings, and ensure steady movement during scanning․ If issues persist, refer to the user manual for troubleshooting steps or contact customer support․
Maintaining the Scanner
Regularly clean the scanner lens and exterior with a soft cloth to ensure optimal performance․ Update firmware periodically to enhance functionality and fix bugs․ Always store the scanner in a protective case when not in use to prevent damage․ Follow the user manual for detailed maintenance instructions․
10․1 Cleaning the Scanner
Regular cleaning ensures optimal performance and image quality․ Power off the scanner, then gently wipe the lens with a soft, dry microfiber cloth․ For tougher smudges, lightly dampen the cloth with water, but avoid harsh chemicals․ Clean the exterior with a dry cloth to remove dust and fingerprints․ Never spray liquids directly on the scanner to prevent internal damage․
10․2 Updating Firmware
To ensure optimal performance, regularly update the scanner’s firmware․ Connect the scanner to your computer via USB and launch the companion software․ Navigate to the “Update Firmware” section and follow on-screen instructions․ Do not disconnect the scanner during the update process․ Once complete, restart the device to apply changes․ This ensures access to the latest features and improvements․

Software and Applications
The VuPoint Magic Wand scanner includes companion software for Windows, enabling users to edit, organize, and transfer scanned files․ Install the software from the provided CD or download it from the official website to enhance your scanning experience․
11․1 Compatible Software Overview
The VuPoint Magic Wand scanner is supported by companion software designed for Windows, enabling users to edit, organize, and manage scanned documents․ The software allows for file conversion, enhancement, and transfer to computers․ Compatible with Windows XP, Vista, 7, 8, and 10, it provides a user-friendly interface for efficient scanning and document management․ This tool enhances your scanning experience and keeps your files organized․
11․2 Installing and Using Companion Software
To install the companion software, insert the CD or download it from the official website․ Follow the installation wizard to complete the setup․ Once installed, launch the software and connect your scanner via USB or Wi-Fi․ The interface allows scanning, editing, and saving files to your computer․ Regularly update the software for optimal performance and new features․ This ensures seamless integration with your scanner․
Maximize efficiency by regularly updating firmware and utilizing all features․ Stay updated with manufacturer support for the latest improvements and optimal performance of your scanner․
12․1 Maximizing Scanner Efficiency
To maximize efficiency, regularly clean the lens and ensure proper battery levels for consistent performance․ Employ steady scanning techniques to avoid distortions and organize files on the microSD card for easy access․ Keep the firmware updated to access new features and improvements, ensuring high-quality scans and smooth operation of your VuPoint Magic Wand scanner․ This will enhance your overall scanning experience․
12․2 Staying Updated with Manufacturer Support
Stay updated with the latest firmware and software updates from VuPoint to ensure optimal performance․ Regularly visit the official VuPoint website for new releases and support resources․ Additionally, subscribe to VuPoint’s newsletter or support channels for tips, updates, and troubleshooting guides․ This ensures your Magic Wand scanner remains efficient and compatible with the latest technologies and improvements․