handheld sewing machine instructions pdf
Safety Instructions for Using a Handheld Sewing Machine
- Always read the manual before use to avoid accidents.
- Use quality sewing machine oil and lubricate frequently.
- Clean the needle plate regularly with a brush.
- Keep loose clothing and long hair tied back while operating.
- Avoid sewing near flammable materials or open flames.
1.1 Essential Safety Precautions
- Read the entire manual carefully before using the handheld sewing machine.
- Ensure the machine is placed on a stable, flat surface while in use.
- Wear protective eyewear to avoid injury from loose threads or debris.
- Keep children and pets away while operating the machine.
- Avoid sewing near flammable materials or open flames.
- Use only high-quality sewing machine oil for lubrication.
- Regularly clean the needle plate to prevent dust buildup.
- Never touch the needle or moving parts with bare hands.
- Store the machine in a cool, dry place when not in use.
1.2 Understanding Machine Components
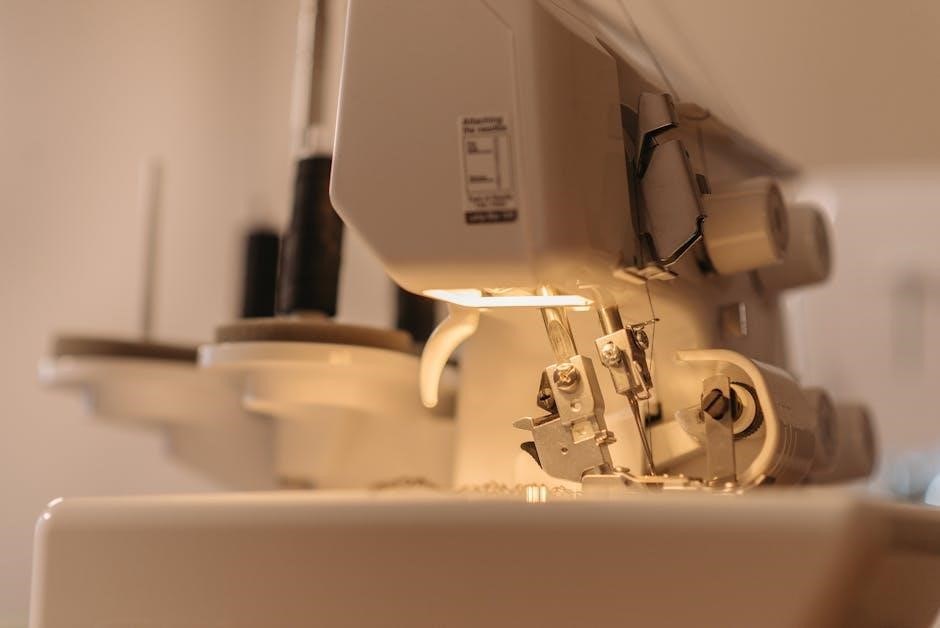
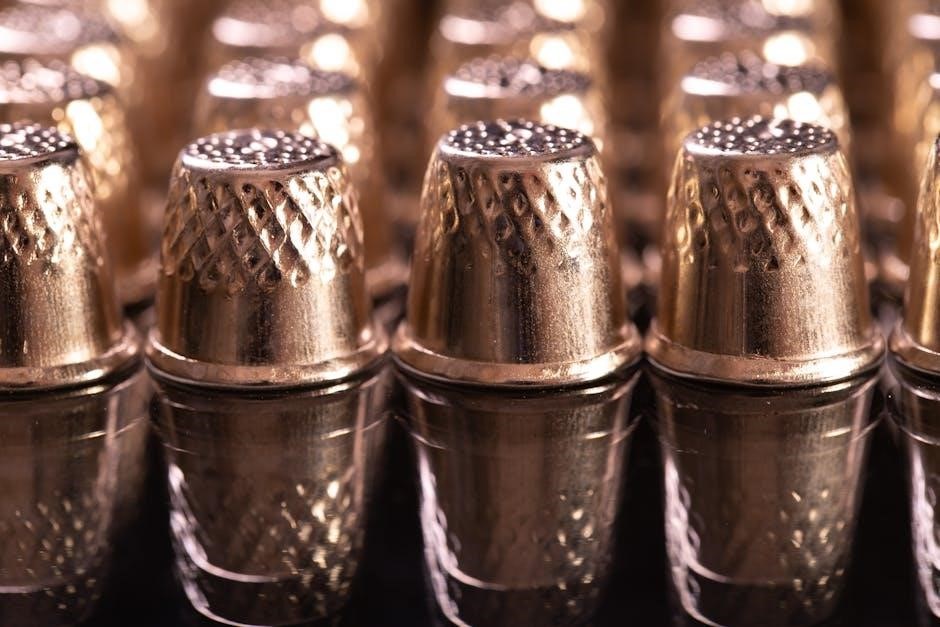
Familiarize yourself with the handheld sewing machine’s parts to ensure proper operation; Key components include the power switch, spool pin, thread guides, needle, and needle plate. The power switch activates the machine, while the spool pin holds the thread. Thread guides direct the thread through the machine, and the needle performs the stitching. The needle plate supports the fabric during sewing. Understanding these components helps in threading, tension adjustment, and troubleshooting. Refer to the manual for diagrams and detailed descriptions of each part and their functions. Proper knowledge of components ensures safe and effective use of the machine.
1.3 Avoiding Common Hazards
Prevent accidents by avoiding common hazards when using a handheld sewing machine. Keep loose clothing and long hair tied back to avoid entanglement. Ensure the work area is clear of flammable materials, as sparks may occur. Avoid sewing near open flames or sparks. Keep children away while operating the machine. Never touch the needle or moving parts with bare hands. Use the machine on stable, flat surfaces to prevent tipping. Regularly inspect the machine for worn or damaged parts and replace them promptly. Proper storage in a dry, cool place also reduces risk of damage or malfunction.
Unboxing and Preparing Your Handheld Sewing Machine
Verify package contents, load batteries, and ensure the machine is properly threaded. Follow the manual for initial setup to ensure smooth operation.
2.1 Checking the Package Contents
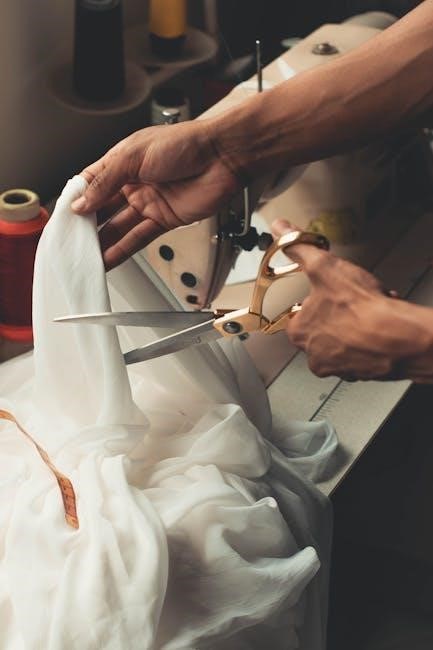
Upon unboxing, ensure the package includes the handheld sewing machine, adapter, extra needles, threader, bobbins, and an instruction manual. Verify all accessories are present and undamaged. Match the items with the list provided in the manual to confirm completeness. Check for any signs of damage or missing parts. If anything is missing or damaged, contact the supplier immediately. Properly inspecting the contents ensures you have everything needed for setup and operation, preventing delays in getting started with your sewing projects.
2.2 Inserting Batteries or Power Sources
Open the battery compartment as instructed in the manual. Insert 4 AA batteries, ensuring correct polarity. Avoid over-tightening the compartment. For models with an adapter, plug it into a power source before use. Some machines allow switching between battery and adapter power. Always use high-quality batteries for reliability. If using rechargeable batteries, charge them fully before first use. Never mix old and new batteries. Proper installation ensures smooth operation and prevents damage to the machine. Refer to the manual for specific power source recommendations.
2.3 Initial Machine Setup
After unboxing, attach the spool pin and insert the needle according to the manual. Place the machine on a stable surface. Set the stitch length and tension as recommended. Attach any additional accessories like the extension arm if provided. Refer to the manual for specific part locations and initial adjustments. Ensure all components are securely fastened. Test the machine on scrap fabric to ensure proper operation. This setup ensures the machine is ready for safe and efficient use. Always follow the manufacturer’s guidelines for initial setup; Proper configuration is key to achieving consistent stitching results.
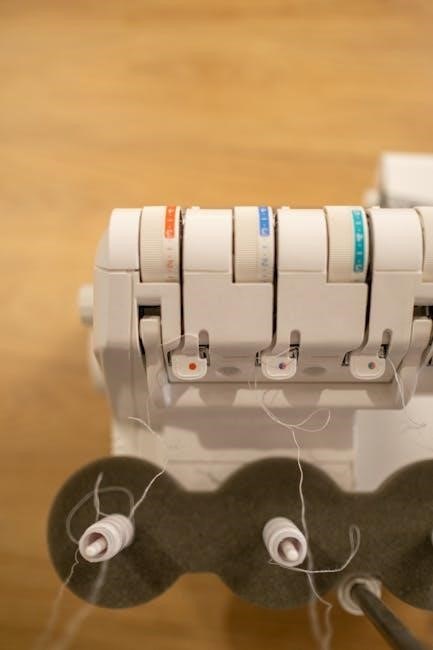
Threading and Tensioning the Machine
- Thread the machine by following the guide on the manual.
- Pull thread through the needle from back to front.
- Adjust tension for consistent stitching quality.
- Test on scrap fabric to ensure proper setup.
3.1 Step-by-Step Threading Guide
- Insert the thread into the machine’s spool pin and guide it through the tension discs.
- Pass the thread through the needle from back to front, leaving at least 2 inches hanging.
- Gently pull the thread to secure it and ensure proper tension.
- Test the thread by sewing on scrap fabric to check for tangles or loose stitches.
- If threading is difficult, consult the manual for detailed diagrams or instructions.
This guide ensures smooth operation and consistent stitching quality.
3.2 Adjusting Thread Tension
To ensure proper stitching, adjust the thread tension by turning the small dial on the machine. Tighten it clockwise for firmer stitches or counterclockwise for looser stitches. Test the tension by sewing on scrap fabric. If the thread is too tight, it may break; if too loose, stitches may be uneven. Adjust in small increments and retest. Proper tension ensures consistent stitching quality and prevents thread issues during sewing. Always refer to the manual for specific guidance on your machine’s tension adjustment.
3.3 Troubleshooting Thread Issues
Common thread issues include uneven stitching, thread breaking, or loops on the underside of fabric. Check if the needle is properly threaded and seated. Ensure the thread is of good quality and not too thick for the machine. If stitches are uneven, adjust the tension dial. For loose loops, tighten the bobbin area. If the thread breaks frequently, ensure the needle is sharp and correctly sized for the fabric. Clean the machine regularly to remove lint, which can interfere with thread flow. Refer to the manual for specific troubleshooting guides tailored to your machine model.

Basic Operating Instructions
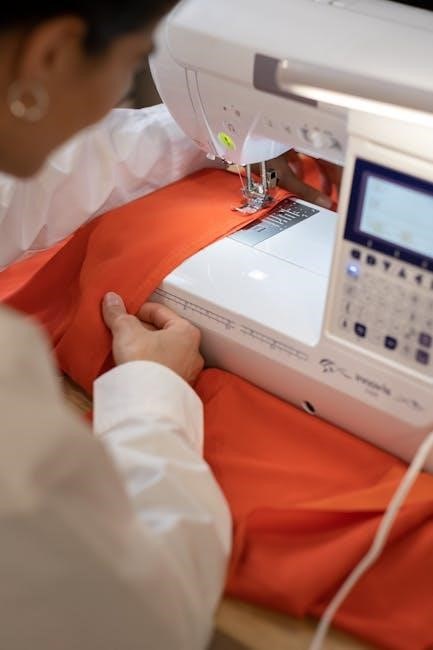
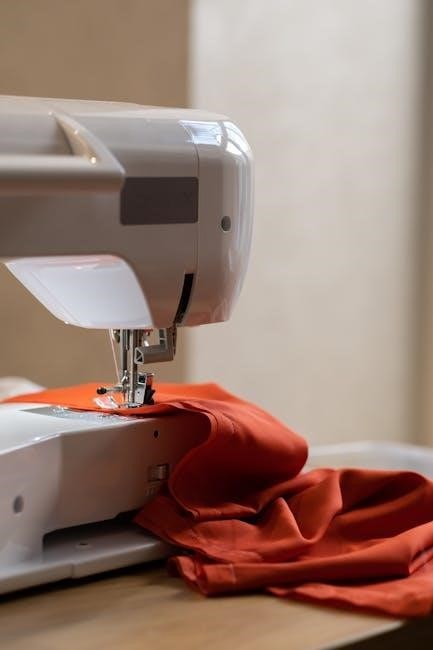
Turn the machine on using the power switch. Hold it firmly, place fabric under the needle, and operate smoothly. Use the thumb to control stitching speed and direction.
4.1 Turning the Machine On
To turn on the handheld sewing machine, locate the power switch, typically found on the handle. Slide the switch forward with your thumb to activate the motor. Ensure the machine is properly assembled and batteries are installed or the power cord is securely connected. Before sewing, double-check that the needle is threaded and the fabric is correctly positioned. Gently squeeze the power switch to start stitching. Always maintain control of the machine and fabric to ensure smooth operation. If using batteries, confirm they are fully charged for consistent performance.
4.2 Holding the Machine Correctly
Hold the handheld sewing machine firmly with your right hand, placing your thumb on the power switch for easy control. Support the machine’s base with your fingers to maintain stability. Keep your left hand free to guide the fabric smoothly under the needle. Ensure your grip is steady to prevent the machine from slipping. Avoid touching any moving parts or the needle with your fingers. Maintain a comfortable posture and keep loose clothing tied back to avoid accidents. Proper handling ensures precise stitching and safe operation.
4.3 Starting and Stopping the Stitch
To start stitching, gently press the power switch with your thumb and guide the fabric under the needle with your left hand. Ensure the machine is placed firmly on a flat surface. Begin sewing slowly, keeping the fabric taut but not stretched. To stop, lift the needle and pull the machine away from the fabric. Always tie a knot at the end of the thread to secure the stitch. Turn off the machine after use. Keep the work area clear of loose threads to avoid tangling. Proper starting and stopping ensures neat, professional results.
Maintenance and Cleaning Tips
Regularly clean the needle plate with a brush to remove lint and debris. Lubricate moving parts with quality sewing machine oil. Store the machine in a dry, protected area, away from direct sunlight. After each use, wipe down the machine to remove fabric scraps and threads. For deeper cleaning, check for any parts needing extra attention, but avoid using harsh chemicals. Ensure the needle is straight and free from debris. If battery-powered, store batteries properly and avoid overcharging. Keep spare needles and bobbins on hand. Always follow the manufacturer’s maintenance guidelines for optimal performance.
5.1 Cleaning the Needle Plate
Regularly clean the needle plate to ensure smooth operation. Use a soft-bristled brush to remove lint, thread fragments, and debris. Gently sweep away loose particles, paying attention to crevices. Avoid using harsh chemicals or abrasive materials that could damage the finish. After cleaning, wipe the needle plate with a dry, lint-free cloth to remove any remaining dust. For stubborn residue, lightly dampen the cloth with water, but avoid soaking the area. Ensure the needle plate is completely dry before storing or using the machine again. Cleaning maintains performance and prevents thread jams or breakage.
5.2 Lubricating Moving Parts
Lubricating moving parts is essential for maintaining smooth operation. Use high-quality sewing machine oil, applying a few drops to the needle bar, handwheel, and gears. Avoid over-lubrication to prevent dirt buildup. Clean the machine with a soft cloth before oil application. Lubricate every 1-2 weeks or as needed based on usage. Look for stiffness or noise as indicators for lubrication. Refer to the manual for specific instructions and oil recommendations to ensure optimal performance and longevity of your handheld sewing machine.
5.3 Storing the Machine Properly
Proper storage ensures longevity and functionality; Clean the machine thoroughly before storage, removing any debris or thread residue. Store in a protective case or original packaging to prevent damage. Keep in a cool, dry place away from direct sunlight and moisture. Avoid storing in humid environments to prevent rust. Ensure the machine is turned off and all parts are secure. Check for dust or lint buildup before storing. Regularly inspect stored machines for maintenance needs. Proper storage helps maintain performance and extends the life of your handheld sewing machine.